
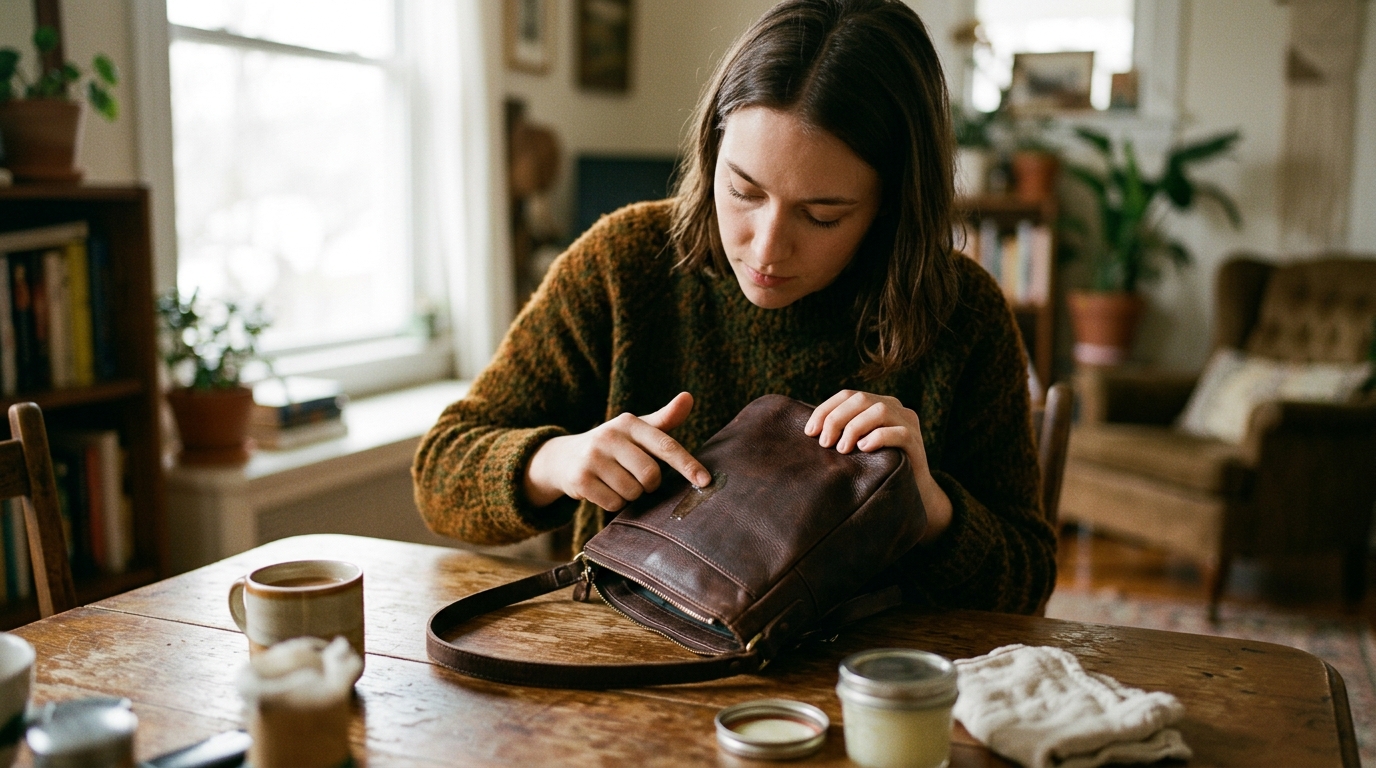
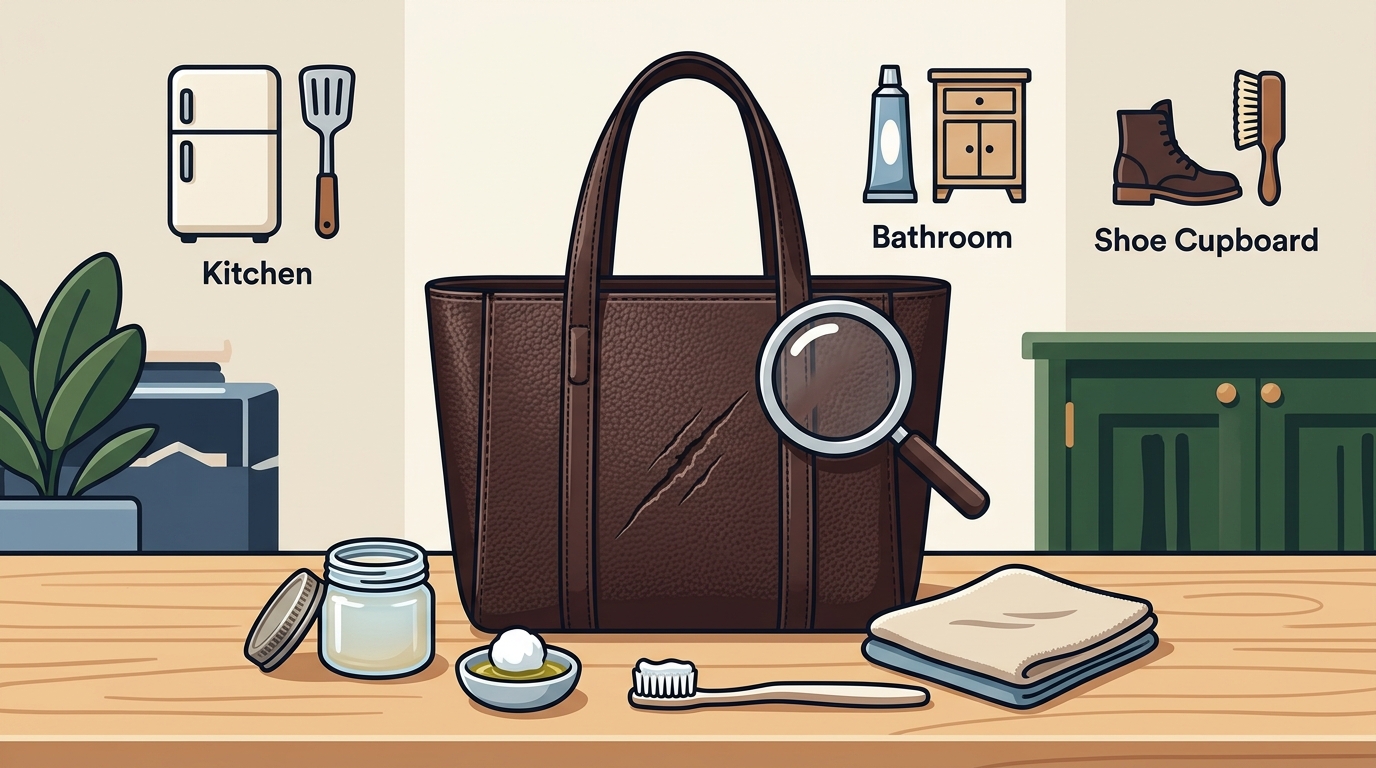
Your premium leather bag picked up a scratch — maybe from a coat zip, a café table edge, or something rattling around in your tote. Before you search for a specialist or order a repair kit, walk through your own home. The kitchen, bathroom, and even your shoe cupboard likely contain everything you need to make that mark vanish.
This guide is organised differently from most: instead of listing products, we walk room by room through your house, match each household item to the scratch type it fixes best, and explain the science behind why it works. We also cover the mistakes that turn a small scuff into permanent damage — and when it is genuinely time to call a professional.
Why Home Repair Works on Most Surface Scratches
Leather is a natural material with a remarkable ability to absorb oils and respond to treatment, which means most scratches — even ones that look serious at first — can be significantly improved or fully repaired at home. The key distinction is between surface scratches (where only the finish or pigment layer is disturbed) and deep gouges (where raw hide is exposed beneath the finish).
A quick way to tell the difference is the fingernail test: run your nail perpendicular across the mark. If your nail glides over without catching, you have a surface scratch that responds well to home methods. If it drops into a groove and you can see a lighter layer underneath, professional repair may be necessary.
Before You Touch Anything: The Two-Minute Pre-Check
- Identify your leather type. Full-grain and top-grain smooth leathers respond to the oil-and-buff methods below. Suede and nubuck are fundamentally different — they should never be treated with oils or wet products, as the material is far more delicate and will get damaged more easily.
- Spot-test every product. Even common household items can shift colour or texture. Apply any product to a hidden area first — the underside of a strap or interior base — wait 30 minutes, then check in natural light.
- Clean before treating. Use a soft, damp cloth to gently wipe away any dust and dirt from the scratched area. Applying conditioner or oil over a dirty surface can trap grit and worsen the mark.
Room-by-Room Scratch Repair Methods
Method 1 — Your Own Hands (No Products Needed)
The simplest starting point requires nothing except your fingertip. Body heat — roughly 32 °C (90 °F) — softens the leather's surface finish, while gentle circular pressure redistributes the displaced finish layer back over the scratch. The natural oils on your fingertip provide just enough lubrication to smooth the surface without adding any product.
How to do it: Place your index finger directly on the scratch. Apply moderate pressure and rub in small, tight circular motions for 30–60 seconds. Check the result. Repeat if needed. This is the safest method because it adds nothing to the leather and relies entirely on the material's natural ability to self-heal minor disruptions.
Method 2 — The Bathroom Shelf: Unscented Moisturiser or Petroleum Jelly
Skin moisturiser can help reduce the visibility of scratches on leather because the emollients mimic the action of dedicated leather conditioner — they soften surface fibres so they swell slightly and close over the mark. Petroleum jelly (such as Vaseline) works on the same principle and is readily absorbed by leather.
How to do it: Dab a pea-sized amount onto a lint-free cloth. Rub gently over the scratch in circular motions. Wipe away excess with a dry section of the cloth. Ensure whatever you use is fragrance-free and colourless, as dyes and perfumes could damage or discolour the leather.
Method 3 — The Kitchen: Olive Oil and White Vinegar
Olive oil penetrates leather fibres and causes them to swell, reducing or eliminating the visible mark. For slightly deeper surface scratches, distilled white vinegar can be used first — dabbing the scratched area with a vinegar-soaked cloth causes the disturbed fibres to plump up before you seal the repair with oil.
How to do it: Clean the surface with a leather-safe cleaner or damp cloth. Dab the scratch lightly with a cloth moistened with white vinegar and allow it to dry. Then apply a small amount of olive oil on a soft cloth and massage gently in circles. Buff away residue with a fresh dry cloth. Use sparingly — too much oil can darken leather.
Method 4 — The Shoe Cupboard: Colourless Shoe Polish
Colourless shoe polish contains waxes that fill micro-abrasions in a leather finish without altering its colour. It is one of the most effective household items for blending away light scratches.
How to do it: After cleaning the scratch, apply a thin layer of colourless shoe polish with a soft cloth. Rub gently until it blends into the surrounding leather. If the mark is still visible, follow up with a tiny amount of olive oil, then a second polish layer.
Method 5 — The Linen Closet: A Hair Dryer and a Soft Cloth
Gentle, controlled heat encourages the oils and dyes within leather to migrate back toward the scratch. A hair dryer on a low or medium setting, held 15–20 cm from the surface for 10–15 seconds, softens waxes in the hide and helps the finish resettle.
How to do it: Warm the scratched area briefly with the dryer. Immediately massage the warm leather with your fingertip or a microfibre cloth using circular motions. Finish with a small dab of leather conditioner to seal the treated area. Be careful not to overheat — if your hand feels uncomfortably warm at the dryer distance, it is too hot for the leather.
What NOT to Do — Common Mistakes That Cause Permanent Damage
- Do not use coloured creams, lotions, or polishes unless they are an exact colour match. A wrong shade will leave a visible patch worse than the original scratch.
- Do not scrub aggressively. Excessive pressure can damage the finish further, especially on pigmented leather where the coloured coating is thin.
- Do not use household cleaners, nail-polish remover, or window spray. These contain solvents and abrasive chemicals that strip leather of its natural moisture and protective finish.
- Do not soak the leather. Excess moisture leads to warping, water stains, and further damage — particularly on aniline or semi-aniline hides.
- Do not ignore timing. Leather-care experts advise addressing scratches quickly, as the longer you wait, the more difficult it becomes to restore the surface.
When to Use a Dedicated Leather Product Instead
Household remedies cover most light surface scratches effectively. However, if a scratch has caused visible colour loss — a lighter or duller stripe where pigment is missing — conditioner alone will not restore the original appearance. In these cases, a leather recolouring balm matched to your bag's shade is needed to fill in the colour and blend the repair. Trusted product lines for this purpose include Saphir, Leather Honey, and Bickmore.
For scratches where raw leather is exposed beneath the finish, a three-stage process is required: clean the area, apply flexible leather filler in thin layers (allowing each to dry), then colour-match the repaired area. This level of repair can still be done at home with a kit, but it demands patience and precision.
Caring for Suede and Nubuck Bags
Everything above applies to smooth leather only. Suede and nubuck bags require a completely different approach: avoid getting the leather wet, start by cleaning with a pencil eraser to lift surface dirt without water, then use a soft-bristled brush or old toothbrush to buff the nap back to an even texture. Follow up with a conditioner specifically formulated for suede. Never apply oil, petroleum jelly, or cream-based products to suede — they will mat the fibres and create permanent dark spots.
Long-Term Prevention Tips
- Condition regularly. Applying a quality leather conditioner every few months replenishes moisture and keeps the leather supple, making it more resilient to scratches.
- Store upright and stuffed. Fill your bag with acid-free tissue when not in use and keep it in a breathable dust bag — never sealed plastic.
- Separate sharp objects. Use a lined pouch for keys, pens, and anything with metal edges before placing them inside your bag.
- Rotate your bags. Alternating between bags reduces daily wear concentration on a single piece.
- Embrace patina. On full-grain leather, minor scratches naturally blend into the surface over time, adding character rather than detracting from the bag's appearance.
Key Takeaways
- Most surface scratches on premium leather bags can be treated at home without special products.
- Always perform the fingernail test first to distinguish surface marks from deep gouges.
- Start with the least invasive method — finger buffing — and escalate only if needed.
- Household items like petroleum jelly, unscented moisturiser, olive oil, and colourless shoe polish are effective on light scratches.
- Never use coloured products, harsh chemicals, or excessive moisture on leather.
- Suede and nubuck require entirely separate dry-cleaning methods.
- Prompt treatment produces the best results — do not leave scratches unaddressed.
Frequently Asked Questions
- Can I really fix a leather bag scratch without buying any products?
- Yes. For very light surface scratches, simply rubbing the mark with your fingertip in small circular motions for 30–60 seconds can make it disappear. Your body heat softens the finish and the natural oils on your skin help redistribute the displaced surface layer.
- Is olive oil safe to use on a leather bag?
- Olive oil can be effective on surface scratches because it penetrates leather fibres and causes them to swell, closing over the mark. However, use it sparingly — over-application can darken the leather. Always spot-test on a hidden area first and wipe away excess thoroughly.
- Will petroleum jelly damage my bag?
- Petroleum jelly is absorbed by leather and works well for light scratches. Use a very small amount on a cloth, rub gently, and remove any residue. Avoid it on suede or nubuck, where it will create permanent marks.
- How do I know if a scratch is too deep for home repair?
- Run your fingernail across the scratch perpendicular to its direction. If your nail catches and drops into a visible groove with a lighter colour underneath, the raw hide is exposed and you will need leather filler and colour-matching — or professional help.
- Can I use a hair dryer on leather?
- Yes, on a low or medium setting for no more than 10–15 seconds at a distance of 15–20 cm. The warmth helps oils migrate back into the scratch. Stop immediately if the leather or your hand feels uncomfortably hot.
- What about suede bags?
- Never apply oils, creams, or wet products to suede. Instead, use a pencil eraser to lift dirt, then a soft brush to restore the nap. For persistent marks, use a suede-specific conditioner.
- Should I act quickly when I notice a scratch?
- Yes. Leather-care professionals recommend addressing scratches as soon as possible, because the longer you wait the harder it becomes to restore the surface, risking permanent damage.